 Pin
Pin The first time I made labneh, I was supposed to be helping a friend prepare for a dinner party, but she got called away and left me standing in her kitchen with a huge container of yogurt and a confused look on my face. She'd casually mentioned draining it overnight and letting gravity do the work, which seemed too simple to actually work. By morning, I'd somehow created this cloud-like, spreadable cheese that tasted like pure comfort—tangy and rich in a way that made everything else on the table taste better. Since then, labneh has become my secret weapon for making people feel looked after, because there's something deeply satisfying about serving something you've coaxed into existence with nothing but time and cheesecloth.
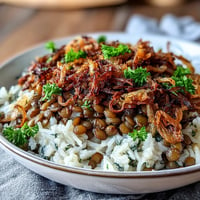
I remember plating this for a family gathering one spring, and my grandmother took one look at the dish, the olive oil catching the light, the dried mint scattered across the top, and immediately started crumbling bread into it like it was the most natural thing in the world. She told me about eating this as a girl in her village, though her version had come from a neighbor's goats, not a container from the grocery store. Watching her eat something that connected her to her own childhood while also being something I'd made in my apartment, in a city she'd never lived in—that's when I realized labneh was more than a cheese. It was a bridge.
Ingredients
- Full-fat plain yogurt (1 kg or about 4 cups): Use the thickest, fattiest yogurt you can find—Greek yogurt or already-strained yogurt will get you to cheese faster and with better texture, so don't cheap out here because this is literally your entire base.
- Fine sea salt (½ tsp): This is just enough to season without overpowering, but taste as you go because some yogurts are already tangy and need less salt than others.
- Extra-virgin olive oil (2 tbsp): This is not an afterthought—it's the final statement, so use something you'd actually want to taste on its own, something with pepper notes or grassy edges.
- Dried mint or zaatar (1 tsp, optional): If you use zaatar, go lighter because it's more assertive; if you use mint, you can be generous because it just whispers across the surface.
- Aleppo pepper or sumac (a pinch, optional): Either one adds a whisper of tartness and color, so pick whichever one speaks to you that day.
Tired of Takeout? 🥡
Get 10 meals you can make faster than delivery arrives. Seriously.
One email. No spam. Unsubscribe anytime.
Instructions
- Salt the yogurt and let it sit:
- Stir the salt into your yogurt until there are no white streaks left—this helps the whey separate and seasons the cheese evenly. Give yourself a minute here; rushing this step doesn't change anything, but taking your time makes you feel like you're actually doing something.
- Set up your straining station:
- Line a sieve or colander with a double layer of cheesecloth or a thin, clean kitchen towel, then nestle it over a deep bowl—you want the whey to have somewhere to go without the cloth touching liquid at the bottom. If your cloth is too thick or your bowl too shallow, you'll end up with wet cheese instead of drained cheese, so think it through for three seconds before you commit.
- Transfer the yogurt and cover it:
- Scoop all the yogurt into your lined sieve and gather the cloth edges loosely over the top like you're tucking it into bed. You're not sealing it tight; you just want to keep dust and kitchen air out without creating a moisture trap.
- Let time do the heavy lifting:
- Refrigerate and forget about it for 12 to 24 hours depending on what texture you're after—12 hours gives you something spreadable and soft, closer to whipped cream cheese, while 24 hours gets you firmer and tangier, almost clay-like. I usually lean toward 18 hours because it's the Goldilocks zone where it's thick enough to serve on a spoon but still soft enough to spread.
- Transfer to serving dish and dress it:
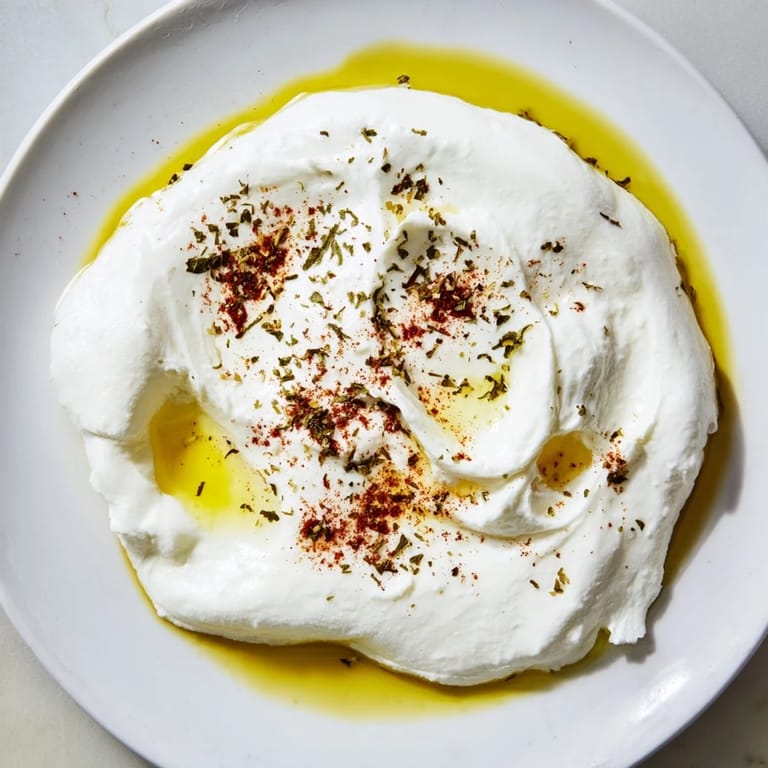
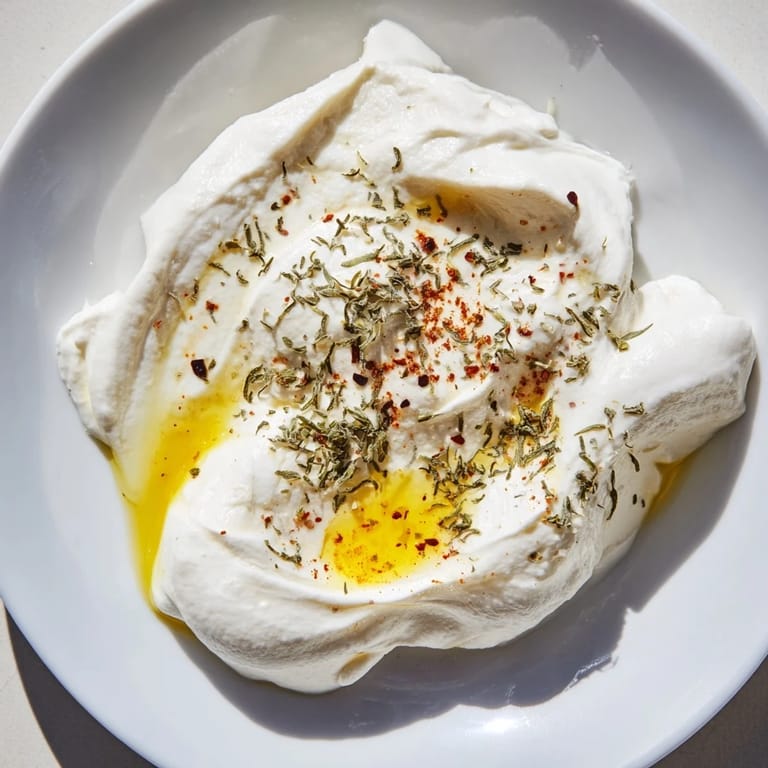
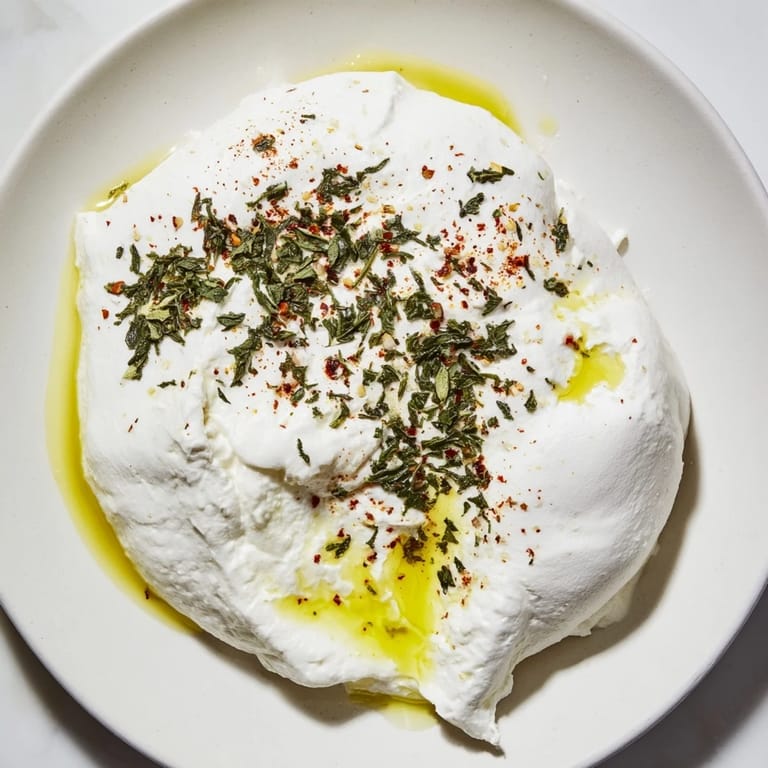
- Scoop the finished labneh into a shallow bowl or plate, making a little well in the center with the back of a spoon, then pour that good olive oil into the well and let it pool. Scatter your mint or zaatar or that pinch of pepper around the edges, and suddenly you have something that looks like you spent your day in a professional kitchen.
- Serve it while it's still cold:
- This tastes best chilled, alongside warm pita bread or scattered across a plate with vegetables and olives, or tucked into sandwiches where it becomes something entirely different and equally necessary.
 Pin
Pin A friend visited last winter and found me standing at my fridge at six in the morning, lifting the cloth to peek at the labneh like it was some kind of sleeping animal I didn't want to disturb. She laughed and said it looked like I was waiting for something to hatch, and honestly, that's exactly what it feels like—this patient, quiet transformation where you're not really doing anything but somehow creating something from almost nothing.
The Strain and the Patience
This recipe is a study in restraint and trust. You mix the yogurt with salt, you set up the cloth, and then you step away. There's no stirring, no heat, no fancy technique required, which sounds relaxing until you realize that means you have to actually wait and not fidget. The first time I made it, I checked every few hours like I was defusing a bomb, lifting the cloth and poking the yogurt, which probably messed with the drainage. By hour eight, I forced myself to stop looking, and that's when I learned that patience isn't just a virtue in cooking—it's sometimes the only technique that matters.
Using Your Whey
While your labneh is draining, don't ignore the bowl underneath. That clear or slightly cloudy liquid is whey, and it's full of protein and tangy flavor that works beautifully in pancakes, bread dough, or smoothies. I've used it in sourdough feeds and in scrambled eggs, and it always adds something subtle that makes people ask what you did differently. Save it in a jar in the fridge and you've essentially turned the draining process into a two-for-one situation where you get cheese and a cooking ingredient at the same time.
Beyond the Bowl
Labneh doesn't have to be served as a dip or spread—I've rolled it into walnut-sized balls, stored them in olive oil with herbs and spices, and used them for weeks on salads, in grain bowls, or as a creamy addition to soups. The texture changes depending on how long you drain it, so you can customize your batch based on what you're making that week. This flexibility is what makes the recipe feel less like a single dish and more like a blank canvas with endless possibilities.
- If you want firmer balls that hold their shape, drain closer to 24 hours and chill the finished labneh for an hour before rolling.
- Store rolled labneh in jars completely submerged in olive oil with your choice of herbs, sumac, or red pepper flakes for weeks of ready-to-use protein.
- A single ball of labneh melting onto a warm slice of bread with fresh herbs is breakfast, lunch, or a reason to stop working and eat something good.
 Pin
Pin Making labneh feels like you're in on a secret that's been around for centuries—you're doing almost nothing and somehow creating something that tastes like care. Serve it to people you love and watch them taste it slowly, like they're trying to figure out how something this good came from your kitchen.
Recipe Q&A
- → How is labneh made creamy and thick?
Full-fat yogurt is salted and strained through cheesecloth for 12 to 24 hours, removing whey to achieve the desired creamy thickness.
- → What garnishes complement labneh best?
Extra-virgin olive oil, dried mint, zaatar, Aleppo pepper, or sumac enhance the rich, tangy flavor beautifully.
- → Can labneh be shaped into forms for serving?
Yes, for firmer texture strain longer and roll into walnut-sized balls, then store in olive oil with herbs and spices.
- → How should labneh be served and stored?
Serve chilled alongside warm pita or fresh vegetables; keep refrigerated for up to 5 days to maintain freshness.
- → Is labneh suitable for lactose-intolerant individuals?
Traditional labneh contains dairy, but plant-based yogurt can be used to prepare a lactose-free version.