 Pin
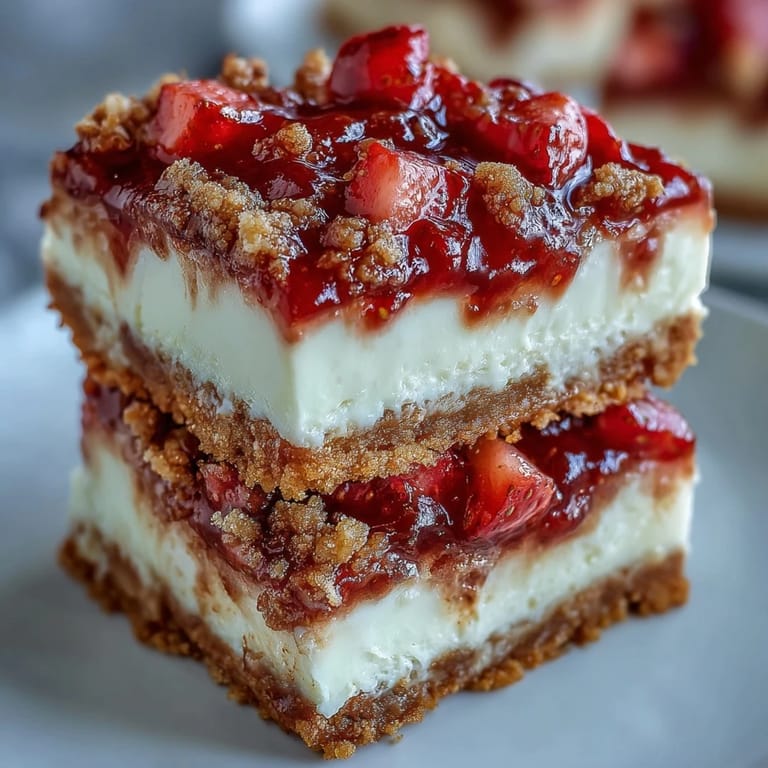
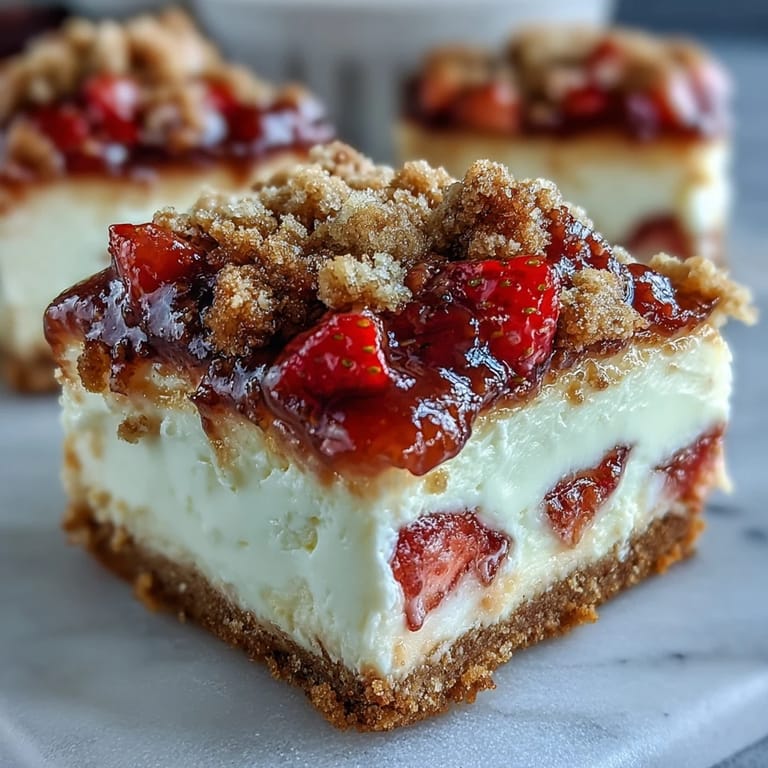
Pin My neighbor Sarah showed up at my door one summer afternoon with a container of these strawberry cheesecake bars, still warm from her oven, and I became absolutely obsessed. The way the buttery crust crumbled between my teeth, how the creamy center melted on my tongue, and those tart-sweet strawberries cutting through all that richness—I knew I had to figure out how to make them myself. It took a few attempts to get the streusel topping just right, but once I nailed it, these bars became my go-to dessert for every gathering.
I made these for a Fourth of July potluck where I was convinced someone would bring store-bought desserts, but mine disappeared first. An elderly woman named Patricia asked for the recipe right there on the patio, and we ended up talking for an hour about our favorite summer fruits and kitchen disasters. She told me she'd been baking for sixty years, and there was something so validating about her saying these bars were genuinely good.
Ingredients
- All-purpose flour (1 cup for crust, 1/2 cup for streusel): The flour is your structural backbone—it keeps everything from becoming a gooey puddle, so don't skip sifting if you have time.
- Granulated sugar (1/4 cup for crust, 2/3 cup for filling, 2 tablespoons for berries): You're layering sweetness here, which sounds excessive until you taste how the tartness of the lemon and berries balances it out perfectly.
- Unsalted butter, melted (1/2 cup) and cold cubed (1/4 cup): The melted butter in the crust creates that sandy, press-able texture, while cold butter in the streusel gives you those gorgeous golden clumps.
- Cream cheese, softened (16 oz): Room temperature cream cheese is absolutely non-negotiable here—cold cream cheese will create lumps that no amount of beating can fix.
- Large eggs (2): These bind everything together and add richness; they're worth buying the good ones if your budget allows.
- Vanilla extract (1 teaspoon): Just a touch—enough to whisper rather than shout, so your strawberries stay the star.
- Sour cream (1/4 cup): This adds a subtle tanginess that cuts through the sweetness and keeps the texture from becoming too dense.
- Fresh strawberries (1 1/2 cups), hulled and diced: Use berries that are ripe but still firm; overripe ones will turn into mush and lose their structure.
- Lemon juice (1 teaspoon): The secret ingredient that makes the strawberries taste even more like strawberries—don't skip it.
- Cornstarch (1 tablespoon): This prevents the berry layer from becoming watery, which would otherwise make your crust soggy.
- Light brown sugar (1/4 cup) and ground cinnamon (1/2 teaspoon): These warm spices in the streusel somehow make summer fruit taste even better by adding depth and complexity.
- Salt (1/4 teaspoon in crust and streusel): A pinch of salt in every layer amplifies all the other flavors, making everything taste more like itself.
Tired of Takeout? 🥡
Get 10 meals you can make faster than delivery arrives. Seriously.
One email. No spam. Unsubscribe anytime.
Instructions
- Prepare your stage:
- Line your 8-inch square pan with parchment paper, letting the edges hang over the sides like little handles—this will save your sanity when you need to lift the finished bars out. Preheat your oven to 350°F so it's ready to go.
- Build the foundation crust:
- Mix your flour, sugar, and salt in a bowl, then pour in that melted butter and stir until it looks like wet sand. Press it firmly and evenly into the pan—I use the bottom of a measuring cup to get it really compact and level. Bake for 10 minutes until it's pale golden, then pull it out and let it cool slightly while you move on.
- Create the creamy filling:
- Beat your softened cream cheese and sugar together until it's completely smooth with no lumps—this usually takes about 3 minutes of steady beating. Add your eggs one at a time, mixing well after each one so you don't overmix and end up with a dense, heavy filling. Stir in the vanilla and sour cream gently until everything is just combined and pourable.
- Layer the strawberry magic:
- Pour that creamy filling over your warm crust and smooth the top with a spatula. In a separate bowl, toss your diced strawberries with the sugar, lemon juice, and cornstarch—this coating will keep them from releasing all their liquid and turning everything soggy. Spoon them evenly across the cheesecake layer, letting some juice drip down into the filling for pockets of flavor.
- Make the streusel crumble:
- Combine your flour, brown sugar, cinnamon, and salt, then drop in those cold butter cubes. Use a fork or your fingertips to work the butter in until everything looks like coarse breadcrumbs with pea-sized pieces of butter visible. This texture is what gives you those crunchy, golden mounds when it bakes.
- Bake until set:
- Sprinkle that streusel evenly over the strawberry layer and slide the whole pan into your oven. Bake for 30 to 35 minutes, watching until the center feels just barely set when you gently jiggle the pan and the streusel is golden brown. The middle should have a tiny bit of jiggle—overbaking makes it crack and become dry.
- Cool and chill:
- Let these cool completely in the pan at room temperature, then cover and refrigerate for at least 3 hours. This chilling time is where the magic happens—the flavors meld, the texture sets up perfectly, and you can actually cut clean bars instead of scoops.
- Slice and serve:
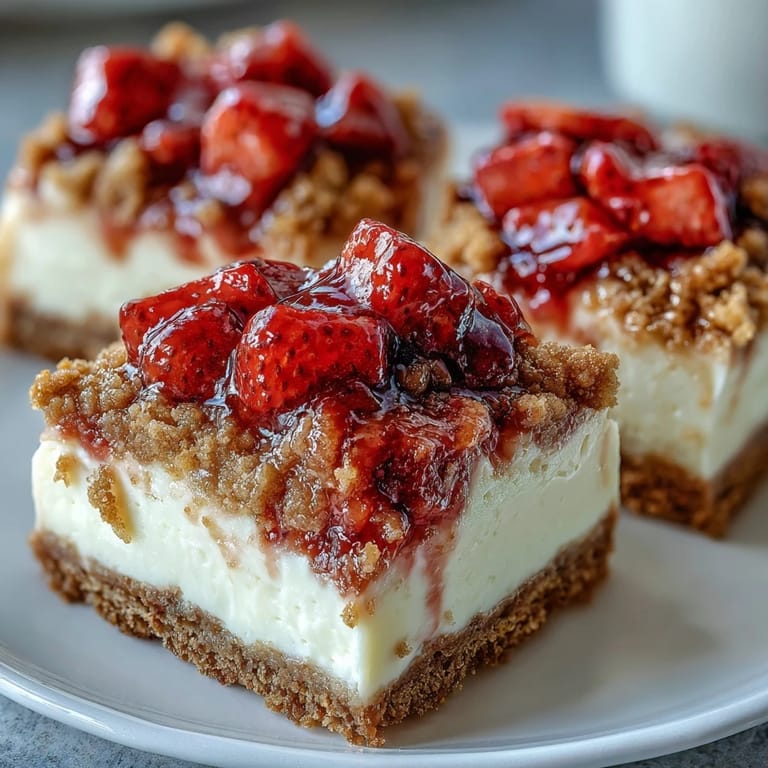
- Run a thin knife around the edges, then use those parchment paper handles to lift the whole thing out of the pan. Cut into 16 squares and serve chilled, ideally with a dollop of whipped cream or a scoop of vanilla ice cream.
 Pin
Pin My sister brought these to a family dinner where my picky-eater nephew actually came back for seconds, which in his world is basically a marriage proposal. That moment when I saw him enjoying something I'd made from scratch felt like winning the lottery.
Timing and Make-Ahead Magic
These bars actually taste better the next day once everything has had time to set and the flavors have gotten acquainted with each other. You can make them up to three days ahead, wrapped well in plastic wrap in the fridge, which means you can show up to a party with zero stress. If you're really planning ahead, you can even freeze them for up to two weeks—just thaw them in the fridge overnight before serving.
Flavor Variations That Actually Work
While strawberries are absolutely the star here, I've experimented with raspberries, blueberries, and even a mixed berry situation, and they all shine in their own way. Raspberries lean into tartness, blueberries add earthiness, and mixed berries give you that festival feeling where every bite is a surprise. The cornstarch is your friend no matter what fruit you choose because berries are sneaky about releasing their juices.
Texture Secrets and Serving Suggestions
The real magic of these bars is how every layer plays against the others—crispy crust, smooth creamy middle, bright fruit, and crunchy streusel on top. I've found that cutting them with a thin, warm knife and wiping the blade between cuts gives you the cleanest presentation. If you want to go full indulgence mode, serve them with whipped cream, a drizzle of honey, or even a small scoop of cinnamon ice cream.
- Cut these while they're still slightly chilled—bars cut from a cold dessert look way more impressive than ones from room temperature.
- Store leftover bars covered tightly in the fridge for up to five days, though honestly they never last that long in my house.
- These freeze beautifully uncut, so you can make them weeks ahead, wrap the whole pan, and thaw it when you need a homemade dessert fast.
 Pin
Pin These bars have become my answer to the question of what to bring when someone asks you to bring something, and there's real comfort in knowing a dessert this delicious is just one afternoon away. They're the kind of recipe that feels special enough to impress people but simple enough that you'll actually make it again.
Recipe Q&A
- → Can I use frozen strawberries instead of fresh?
Yes, you can use frozen strawberries. Thaw them completely and drain excess liquid before tossing with sugar, lemon juice, and cornstarch to prevent a soggy topping.
- → How long can these bars be stored?
Store the bars in an airtight container in the refrigerator for up to 5 days. The streusel may soften slightly over time but they'll remain delicious.
- → Why do the bars need to chill for 3 hours?
Chilling allows the cheesecake layer to set completely, making the bars easier to slice cleanly and enhancing the creamy texture for the best eating experience.
- → Can I make these bars ahead of time?
Absolutely! These bars are ideal for advance preparation. Make them up to 2 days ahead and store covered in the refrigerator until ready to serve.
- → What size pan should I use if I don't have an 8-inch square pan?
You can use a 9-inch square pan, though the bars will be slightly thinner. Reduce baking time by 5 minutes and check for doneness when the center is just set.
- → Can I substitute the sour cream?
Yes, Greek yogurt works well as a substitute for sour cream, providing similar tanginess and creamy texture to the cheesecake layer.