 Pin
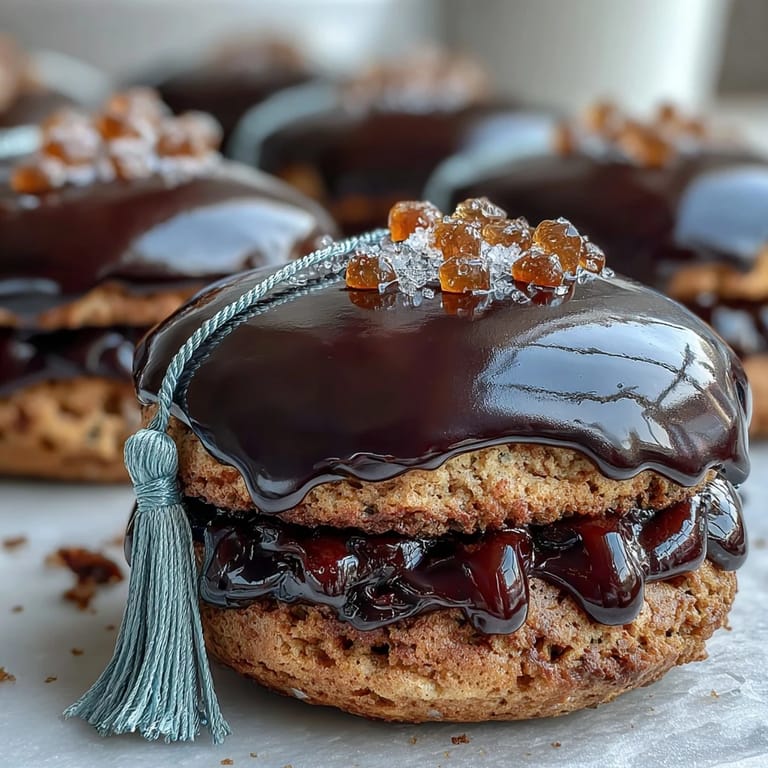
Pin My cousin texted me a photo of her graduation cap at midnight, and I immediately knew what I wanted to bake for her celebration brunch. These cookies came together almost by accident—I had royal icing supplies left over from a wedding project and a box of butter in the fridge that needed using. What started as a simple sugar cookie became this adorable little edible tribute, each one a tiny black cap with a golden tassel that actually made people smile before they even took a bite.
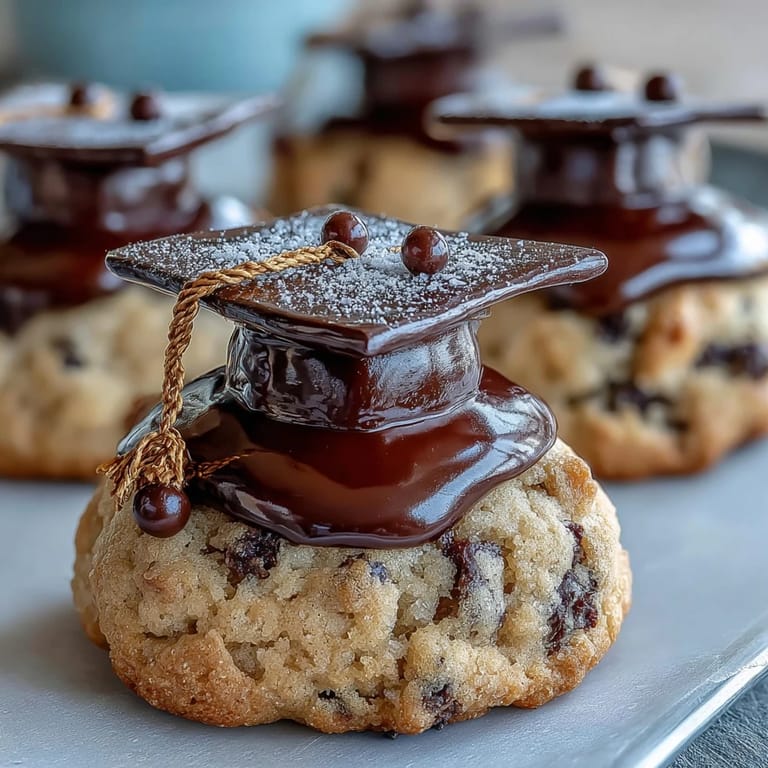
I'll never forget the moment my friend Sarah walked into the kitchen and saw twenty-four tiny graduation caps lined up on my cooling racks. She literally gasped and grabbed her phone to photograph them before I'd even finished the yellow tassels. That's when I realized these cookies weren't just treats—they were going to be the centerpiece of the whole party, the thing people remembered alongside the speeches and the laughter.
Ingredients
- All-purpose flour (2 1/2 cups): This is your structure—it needs to be measured correctly or your dough gets either too crumbly or too dense, so I always spoon and level rather than scooping directly from the bag.
- Baking powder (1/2 teaspoon): Just a whisper of it keeps the cookies tender without making them cake-like, which would mess with your decorating surface.
- Salt (1/4 teaspoon): Never skip this—it balances the sweetness and makes the butter flavor pop in the background.
- Unsalted butter (3/4 cup), softened: Room temperature is non-negotiable here; cold butter won't cream properly and you'll end up with dense cookies that don't bake evenly.
- Granulated sugar (1 cup): The standard sweetener that creams beautifully with butter and dissolves smoothly into the dough.
- Large egg (1): This binds everything and adds richness without overwhelming the delicate flavor.
- Vanilla extract (2 teaspoons in dough, 1/2 teaspoon in icing): The soul of these cookies—vanilla is what makes people close their eyes and smile when they taste them.
- Powdered sugar (3 cups), sifted: Sifting actually matters here because lumpy icing won't pipe smoothly and looks amateurish no matter how good it tastes.
- Egg whites (2 large) or meringue powder substitute: Egg whites create that glossy, almost glass-like finish on royal icing, though meringue powder is safer if you're nervous about raw eggs.
- Black and yellow gel food coloring: Gel colors are richer and more concentrated than liquid, so a tiny dab goes a long way without watering down your icing.
- Mini yellow M&Ms or candy pearls: These become the tassel details and honestly make the whole design work—they're what catches people's eyes first.
Tired of Takeout? 🥡
Get 10 meals you can make faster than delivery arrives. Seriously.
One email. No spam. Unsubscribe anytime.
Instructions
- Gather and prep your flour mixture:
- Whisk together your flour, baking powder, and salt in a bowl and set it aside. This aerates the flour slightly and ensures the leavening agents are evenly distributed throughout.
- Cream your butter and sugar into fluffy clouds:
- Beat softened butter and sugar together for two to three minutes until it looks light, pale, and almost mousse-like—this is where the cookies get their tender crumb. If you stop too early, the dough will be grainy; if you go too long, it'll separate.
- Bring the wet ingredients together:
- Add your egg and vanilla and beat until fully combined and smooth. Scrape down the bowl halfway through to catch any butter hiding at the bottom.
- Gently fold in the dry mixture:
- Add your flour mixture in batches, mixing on low speed until the dough just comes together—overmixing toughens the cookies. The dough should look like soft, slightly sticky play dough.
- Rest the dough in the cold:
- Divide the dough in half, shape each into a disk, wrap in plastic, and chill for thirty minutes. This relaxes the gluten and prevents spreading during baking.
- Roll and cut with intention:
- Preheat your oven to 350°F while the dough chills. On a lightly floured surface, roll the dough to about a quarter inch thick—use a pastry guide or mark your rolling pin with tape to keep the thickness consistent. Cut out your graduation caps or squares and place them on parchment-lined baking sheets.
- Bake until golden at the edges:
- Bake for eight to ten minutes; they should be set but still pale on top with just a hint of gold at the edges. Overbaking creates hard, crispy cookies that won't hold toppings well.
- Cool completely before decorating:
- Let cookies cool on the baking sheet for a few minutes, then transfer to a wire rack. They must be completely cool before icing, or the royal icing will melt right off.
- Build your royal icing base:
- Beat egg whites (or meringue powder mixed with water) until foamy, then gradually add sifted powdered sugar while beating. Keep beating for about five minutes until you have stiff, glossy peaks that hold their shape when you lift the beaters.
- Flavor and divide your icing:
- Mix in vanilla extract, then divide the icing into portions—most for black, a smaller amount for yellow. If you're using meringue powder, the icing will be slightly thicker and more stable.
- Adjust consistency for your technique:
- For outlining and piping details, your icing should be thick enough to hold a peak. For flooding the base, thin it slightly by adding water one teaspoon at a time until it flows like honey but still holds its shape.
- Outline and flood with black:
- Pipe a thin black outline around each cookie using a small round tip, then flood the interior with slightly thinned black icing. Use a toothpick to gently spread it to the edges and pop any air bubbles—this is meditative work, almost like decorating tiny edible art.
- Let the base set completely:
- Wait thirty to sixty minutes for the black icing to firm up completely. This prevents the yellow details from sinking into wet icing and creating muddy colors.
- Pipe the golden details:
- Using your yellow icing in a small piping bag fitted with a tiny round tip, pipe a small tassel shape on the top center of each cap and a small button or accent wherever it looks good. Work slowly and enjoy the repetition—it's oddly soothing.
- Top with your shiny finishes:
- Place a mini M&M or candy pearl at the end of each tassel while the yellow icing is still slightly wet so it adheres. These tiny additions are what make people gasp when they see them.
- Cure completely before serving:
- Let the cookies dry fully for several hours or overnight before packaging or serving. This ensures all the icing hardens completely and the cookies stay fresh and beautiful.
 Pin
Pin There's something magical about watching someone's face when they realize that graduation cap cookie is actually edible and delicious, not just a decoration. My mom kept one on her kitchen counter for days before finally eating it, taking photos to send to relatives—it had become more than a cookie, it was a moment of celebration captured in butter and icing.
Make-Ahead and Storage Wisdom
The smartest thing I learned is baking these cookies two days ahead and decorating them the next day. The dough keeps beautifully in the fridge for up to five days, and undecorated baked cookies stay crisp in an airtight container for almost a week. I've also frozen decorated cookies (gently layered with parchment) for up to two weeks, though I find they taste best within three days of decorating when the icing is still pristine and glossy.
Troubleshooting the Details
If your icing cracks or breaks when you're trying to spread it, you're either using icing that's too thick or you're being too aggressive with the spreading. The toothpick should glide gently across the surface like you're barely touching it. If your piping bag keeps clogging, sift your powdered sugar one more time before mixing—I learned this the hard way while decorating for my sister's graduation and had to squeeze the bag like I was milking a very stubborn cow.
Flavor and Decoration Variations
The base sugar cookie is neutral enough to play with—I've added almond extract instead of vanilla, swapped in brown butter for a nuttier flavor, even infused the dough with lemon zest for a spring graduation. The decoration is equally flexible; if you don't love the black graduation cap look, you could pipe school colors, make them look like books, or keep them simple with just pastel icing and no details at all.
- Try substituting natural food colorings like beet juice for red or spirulina for green if you prefer avoiding synthetic dyes.
- Edible gold dust mixed into the icing creates an elegant, shimmery effect instead of the M&M toppers.
- Different cookie cutters (mortarboards, squares, circles) can turn these into multiple design options for a themed cookie assortment.
 Pin
Pin These cookies turned that ordinary kitchen afternoon into a celebration all on their own, and now every graduation season I find myself making a batch. They're proof that sometimes the most meaningful food is the kind you make with attention and care, the kind that makes people remember the love in the details.
Recipe Q&A
- → What gives these cookies their crisp texture?
The combination of all-purpose flour and chilled dough ensures a firm yet tender cookie that crisps nicely during baking.
- → How does royal icing achieve its smooth finish?
Beating egg whites or meringue powder with powdered sugar creates stiff peaks that dry to a smooth, glossy surface when piped onto cookies.
- → Can I prepare the dough in advance?
Yes, the dough can be made and chilled for up to two days before baking for convenience.
- → How are the black and yellow colors achieved on the icing?
Gel food coloring is mixed into portions of royal icing to create vivid black and yellow shades for decorating the caps and tassels.
- → What tools are helpful for decorating these cookies?
Small piping bags, fine piping tips, and toothpicks help outline and flood designs precisely on the cookie surface.